
How to Install Brick Slip Cladding
If you are one of the many homeowners seeking to revamp the look of your property using brick-cladding panels, this guide is for you. Designed to mimic the look of traditional brickwork, lightweight, prefabricated brick cladding panels are an affordable alternative to full-scale masonry projects. What’s more, they provide added insulation and protection.
Read on to learn about installing brick cladding panels and discover some helpful tips to ensure a successful project.
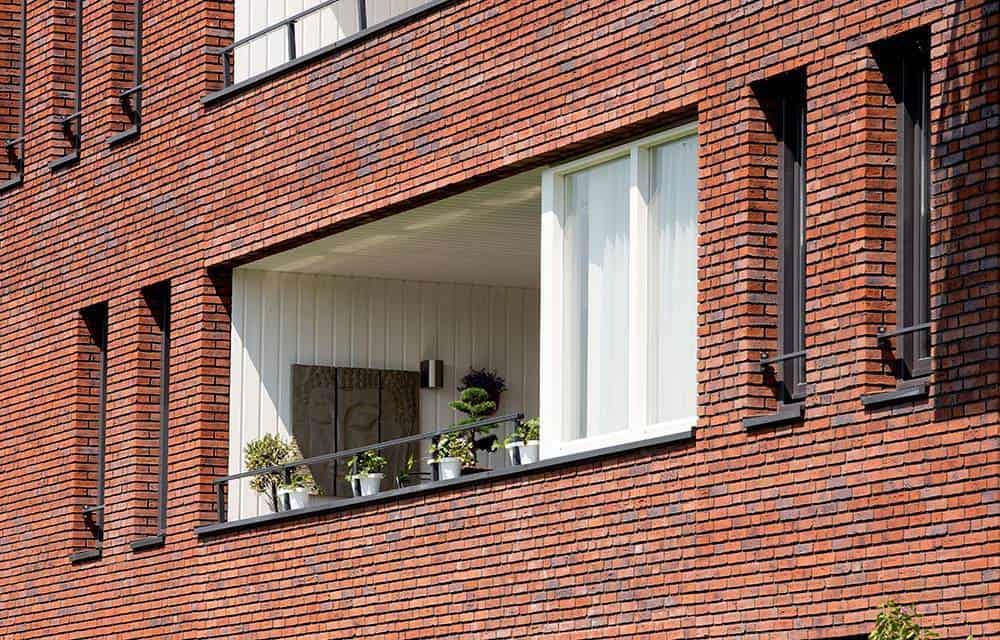
Advantages of Brick Cladding Panels
Before getting into the installation process, let’s first look at four key benefits of using brick cladding panels:
Aesthetic Appeal
For a classic look that never goes out of style, slip brick panels add a touch of timeless elegance to a property. It’s easy to find a panel that complements your home’s design with the wide range of colours, textures, and finishes available.
Durability
Resistant to extreme weather conditions, fire, and pests, brick slip-cladding panels are made from high-quality materials, which means they’ll protect your home for years.
Energy Efficiency
A major benefit of installing brick cladding panels is their added insulation which helps to keep your home warm in the winter and cool in the summer. This can reduce your carbon footprint and reduce energy bills with significant energy savings.
Low Maintenance
Compared to traditional brickwork, brick cladding panels require very little maintenance. You can forget about repointing or resealing, making them ideal for busy homeowners.
Tools and Materials Needed
To install brick cladding panels, you’ll need: a measuring tape, a spirit level, a pencil, safety goggles, gloves, a circular saw or angle grinder (with a diamond-tipped blade), a notched trowel and spacers. You will also use spacers, a suitable adhesive, a rubber mallet, grout and grout float, a sponge, clean water and a cloth.
Preparing the Surface
Before installing brick cladding panels, it’s essential to prepare the surface. Here’s how:
- First, the surface must be dry, clean, and debris-free.
- Consider applying a layer of render or plaster to create a smooth and level foundation.
- If installing the panels on an outside wall, apply a waterproof membrane to prevent moisture damage.
Installing the Brick Cladding Panels
With the surface prepared, the brick cladding panels can now be installed. Here’s how.
Measuring and Cutting the Panels
Decide how you’ll arrange the panels and measure the area you’re covering. You’ll need to account for openings, such as doors and windows. Mark the cutting lines on the panels and, wearing safety goggles, carefully cut the panels to size using a circular saw or angle grinder with a diamond-tipped blade.
Applying Adhesive
Using a notched trowel, apply an even layer of adhesive to the back of the panel, ensuring full coverage. Then apply a layer of adhesive to the back of the panel with a notched trowel, ensuring full, even coverage. Edges and corners need special attention as these areas are more prone to moisture penetration.
Installing the Panels
Press the panel firmly onto the prepared surface, starting at the bottom corner of the wall. Tap the panel gently into position with a rubber mallet to ensure a secure bond. Spacers need to be placed between the panels for consistent joint spacing. Work your way up and across the wall, checking for level regularly.
Grouting the Joints
With the panels all in place and the adhesive cured, it’s time to begin grouting the joints. Mix the grout as per the manufacturer’s instructions and apply it with a grout flout to the joints. Fully work the grout into the gaps, removing all air pockets.
After allowing the grout to set for a few minutes (or as directed by the manufacturer), use a damp sponge to clean any excess grout off the panels. Be careful not to disturb the grout in the joints. Allow the grout to dry completely before proceeding to the next step.
Finishing Touches
Remove any residual grout haze from the panels using a clean, damp cloth when the grout has dried.
Tips for Successful Installation
- You must ensure proper surface preparation to achieve a strong bond between the panels and the wall.
- Carefully plan your layout to ensure a visually appealing result and minimise waste.
- Work meticulously; double-check measurements and levels.
- For optimal results, follow the adhesive and grout manufacturer’s instructions.
Safety Precautions
- Wear safety goggles, gloves, and appropriate personal protective equipment.
- Familiarise yourself with power tools and take great care when using them.
- Be mindful of your surroundings, particularly when working at height or around electrical outlets.
Maintenance of Brick Cladding Panels
Regular cleaning keeps brick cladding panels looking their best. A soft brush and mild detergent are ideal for removing grime and then rinse with clean water.